How to configure AstroPaper theme - Blog
Last updated
Last updated
The important configurations lies in src/config.ts file. Within that file, you’ll see the SITE object where you can specify your website’s main configurations.
During development, it’s okay to leave SITE.website empty. But in production mode, you should specify your deployed url in SITE.website option since this will be used for canonical URL, social card URL etc.. which are important for SEO.
Here are SITE configuration options
website
Your deployed website url
author
Your name
desc
Your site description. Useful for SEO and social media sharing.
title
Your site name
ogImage
Your default OG image for the site. Useful for social media sharing. OG images can be an external image url or they can be placed under /public directory.
lightAndDarkMode
Enable or disable light & dark mode for the website. If disabled, primary color scheme will be used. This option is enabled by default.
postPerIndex
The number of posts to be displayed at the home page under Recent section.
postPerPage
You can specify how many posts will be displayed in each posts page. (eg: if you set SITE.postPerPage to 3, each page will only show 3 posts per page)
scheduledPostMargin
In Production mode, posts with a future pubDatetime will not be visible. However, if a post’s pubDatetime is within the next 15 minutes, it will be visible. You can set scheduledPostMargin if you don’t like the default 15 minutes margin.
showArchives
Determines whether to display the Archives menu (positioned between the About and Search menus) and its corresponding page on the site. This option is set to true by default.
editPost
This option allows users to suggest changes to a blog post by providing an edit link under blog post titles. This feature can be disabled by removing it from the SITE config. You can also set appendFilePath to true to automatically append the file path of the post to the url, directing users to the specific post they wish to edit.
You can configure the default locale used for the build (e.g., date format in the post page), and for the rendering in browsers (e.g., date format in the search page)
You can specify site’s title or logo image in src/config.ts file.
If you specify LOGO_IMAGE.enable => false, AstroPaper will automatically convert SITE.title to the main site text logo.
If you specify LOGO_IMAGE.enable => true, AstroPaper will use the logo image as the site’s main logo.
You have to specify logo.png or logo.svg under /public/assets directory. Currently, only svg and png image file formats are supported. (Important! logo name has to be logo.png or logo.svg)
If your logo image is png file format, you have to set LOGO_IMAGE.svg => false.
It is recommended that you specify width and height of your logo image. You can do that by setting LOGO_IMAGE.width and LOGO_IMAGE.height
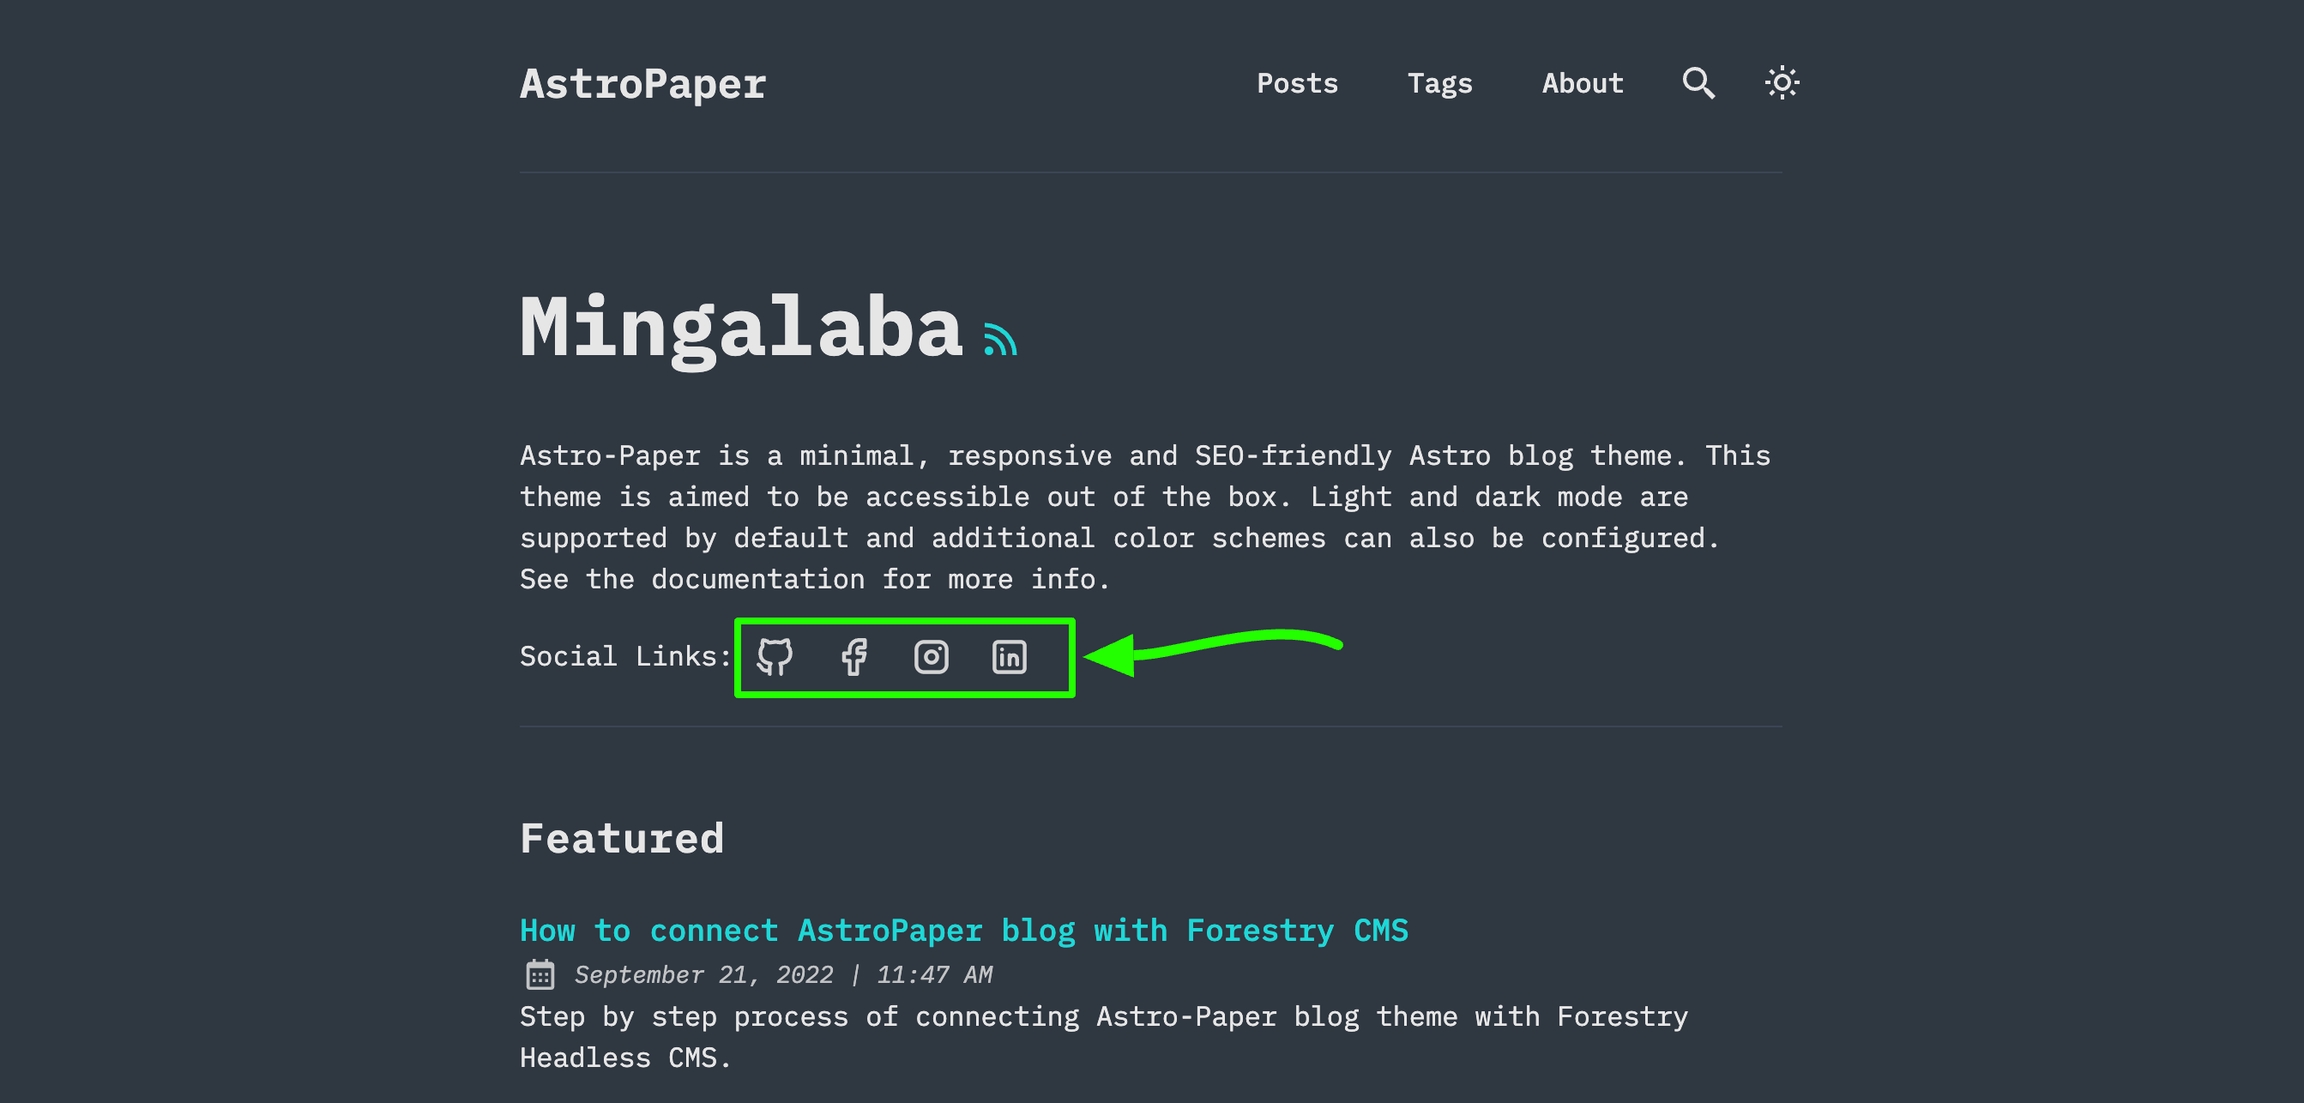
You can configure your own social links along with its icons.
Currently 20 social icons are supported. (Github, LinkedIn, Facebook etc.)
You can specify and enable certain social links in hero section and footer. To do this, go to /src/config.ts and then you’ll find SOCIALS array of object.
You have to set specific social link to active: true in order to appear your social links in hero and footer section. Then, you also have to specify your social link in href property.
For instance, if I want to make my Github appear, I’ll make it like this.
Another thing to note is that you can specify the linkTitle in the object. This text will display when hovering on the social icon link. Besides, this will improve accessibility and SEO. AstroPaper provides default link title values; but you can replace them with your own texts.
For example,
to
LOCALE.lang will be used as HTML ISO Language code in <html lang="en">. If you don’t specify this, default fallback will be set to en. LOCALE.langTag is used as . For this, you can specify an array of locales for fallback languages. Leave LOCALE.langTag empty [] to use the environment default at build- and run-time.